
This post is about eyes.
As I mentioned, while the paper mache pieces are drying I do other things. One of the most important decisions about a dragon project is the what to do about the eyes. I buy most of my eyes from taxidermy companies even though I admit an emotional conflict with that industry. When I look at “cat” eyes for sale, like lynx or tiger, it makes me a bit ill to think that someone actually kills those animals to have them stuffed. And large Aftrican animals… don’t even get me started. But I just can’t make eyes like the ones made by the cottage industry that makes eyes for taxidermists. They are beautiful glass pieces of art. The water based paint I use on my projects don’t stick to the glass so I can paint over them and later scrape it off. (That is actually one of the best parts of the project. I feature it in all my videos.) And they are correctly shaped. I’ve seen some cool eyes made by pasting photos of irises to the back of cabochons. But the flat surface on the back just doesn’t give any depth. Just not the right shape for me. But I digress.
I have lots of eyes already to choose from.

But of course none of them are right for this project. So I’ve been playing with some ideas. I’ll talk about a few in successive posts. I want to warn you… you can give me opinions about the eyes I show you, but it probably won’t effect my decision. Don’t get offended if I don’t choose your favorite.
For this piece I started by looking at the eyes they are using on Game of Thrones for the newly dead Viserion. They are a very nice blue. (I love the last scene of the episode when he opened his newly blue eyes for the first time.) Here is what they looked like.

I don’t have any eyes like that in my stash. So I decided to experiment and see if I could get something close. I have a few “blanks” laying around.


I first paint a few dark blue streaks. Then quickly while it’s still very wet I add some white and then see what happens when they blend. If I don’t like what I see I throw them in a container of water, wash out the paint, and start over. Here are a few contenders I got using this process.

As I said, these are just contenders. I have a few more things to try before I make any decision.
More Ice Dragon eye experiments.
So I’ve been experimenting with more options for eyes. I have to say that I haven’t just been debating in my head about eyes. I’ve been wrestling with whether to add lights to this project. I’ve added lights to the last 4 or 5 dragons and it started to feel a little same-old, same-old. So I wasn’t going to put lights in this dragon. But then my friend Rick P convinced me that this project might be cool with blue lights. I already had some white lights around, and I ordered some blue just to see. They just came today. Rick also reminded me that most of the time the lights would be turned off anyway. And I’ve been asked many times about my methods for adding lights, so putting light in the project would answer all of those inquiries.
Putting lights behind eyes changes everything so far as the eyes I showed earlier. I know that putting lights behind eyes that I paint myself usually don’t look very good. Below are some examples. On the left is one of the painted eyes with white lights behind it. And on the right I used blue lights. The blue lights make them look a little better, but overall I don’t like my painted eyes with lights.


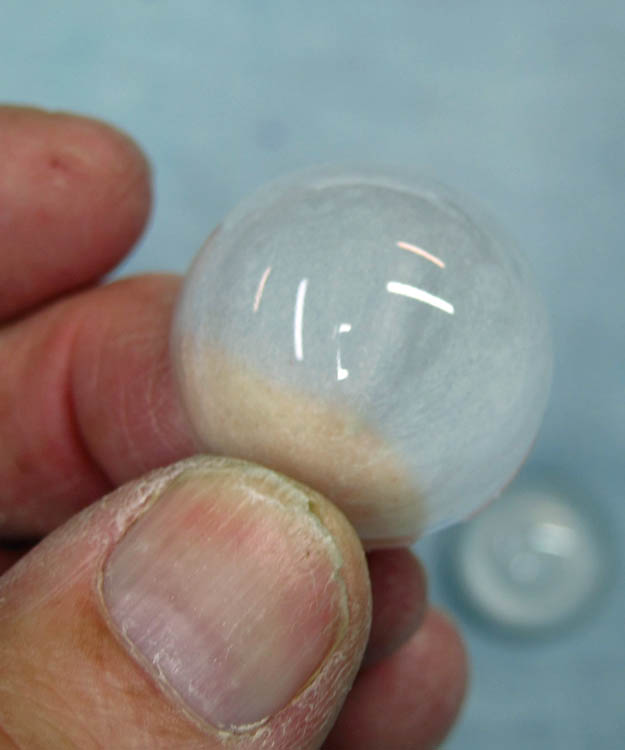
Something that does work well with lights behind them are glass taxidermy eyes that I’ve ground out the paint in the back with a Drummel tool. Here are a couple of those with lights behind them. I have to say that I do like the frosty look of the eyes without the lights on. And these eyes look a lot like the eyes in the drawing on the first post when the lights are on.

Here is the eye on the left with blue l.e.d. lights behind it.
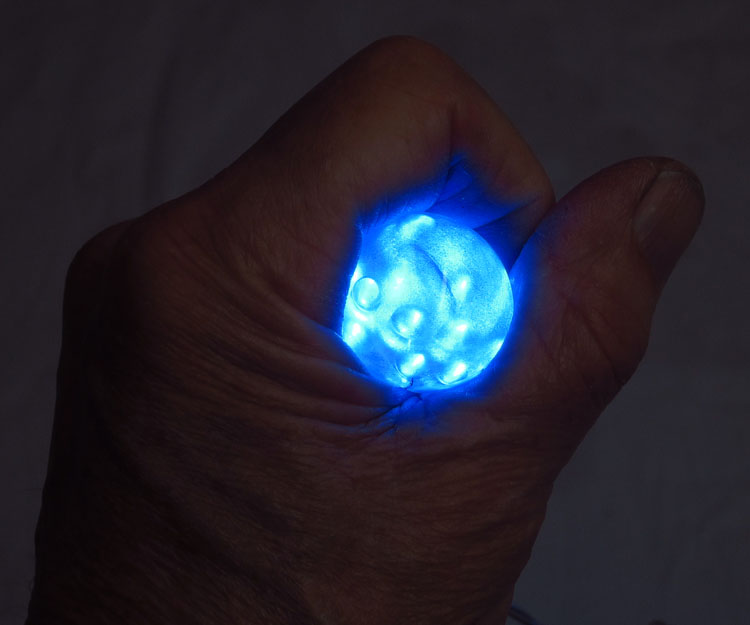
The camera doesn’t really capture how this really looks.
By the way, before I decided to use l.e.d. lights I toyed with the idea of using the frosted glass eyes withn some flourescent Fimo behind them. Here is how that would look in the dark. Kind of cool, but too yellow in the daylight, and too yellow at night. They need to be white-ish or blue-ish.


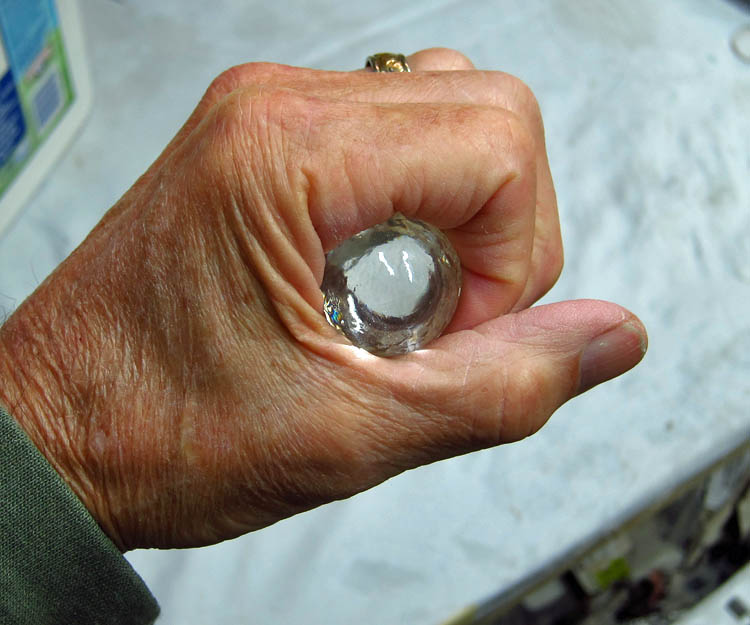
And,….I’ve also been doing more with the clear casting resin. I made many more horns, and I also made some teeth that look like they are made of crystal clear ice. I really like them. I will have a post showing that process soon. While I was making the molds for those teeth I also made molds of some of the glass eyes I have. I used them to make eyes out of clear casting resin. I think they look great also. Like the teeth, they look like eyes that are made of clear ice. I really like the look of these with the lights off. The verdict is still out as to how they look with the lights behind them. In fact, the verdict is still out about all of the eyes I’ve played with so far. But I think the eyes I’ll use will be some of the ones I’ve shown in the last few posts. I probably won’t make up my mind until I’m ready to install them on the dragon.


Do you use acrylic paint on those eyes? How do you get the streaking?
I just use the same water based paints I use for painting the dragons. It is all purpose paint.
Amazing work! If you ever get tired of doing dragons I would love to see you do your interpretation of the owl on Dumbledore”s Podium.
Thanks Jenn. People have made some pretty amazing birds that are on my website. I’ve done a couple. An owl would be cool.
Hi Dan, have you ever tried the acrylic craft paint called Gallery glass? It has very vibrant colors but is quite transparent. You can get it at any of the craft stores and it’s inexpensive. I bet the light would shine through it wonderfully.. so glad you’re back to your work! I love to watch what you do. 🙂
Cheers,
Eileen
Hey Eileen. Thanks for the advice! No, I haven’t tried those, but I will at some point. Hope all is well.
what do you use to make the eyes yourself?
I cast these eyes out of Clear Casting Resin. The brand is “Clear Lite”. I got it at TAP plastics.
I’ve seen them made with clear plastic balls split in half and instead of paint, nail polish was used in the concave side. I’m sure you already understand laying out the colors in reverse starting with the pupil.
Thanks Stephen. Yes, those are called cabochons. You can get them in plastic or glass. Take care