About jaws.
Well, I’ve been working hard on this project. I’m sure some of you are already saying, “when is he going to get to the interesting part?” And my answer would be, “never.” This isn’t quite true, but it must be clear by now that most of the work on a project like this is building the parts. I make one horn I like, then I make a dillion more. I make a few teeth I like, then I make a half dillion slightly different sizes of them, just in case I change my mind about what I want to use. And I have to stop often to gab a few chocolate chips. (Julie keeps a bag in the freezer for when she decides to make cookies. Of course I found them and every so often I sneak a handful.) (A few days later I realize there are only a few chips left in the bag and must seriptitiously get to the store and buy a replacement bag.)(I finally got caught because I bought the wrong brand.)
Anyway, it’s time to make some jaws. Perhaps the most recognizable feature of the steps I have put together for making dragons concerns the jaws. Not only are the teeth and tongue, and the mouth generally, very important to the look of a dragon, the jaws constitute the basic armature of the piece.
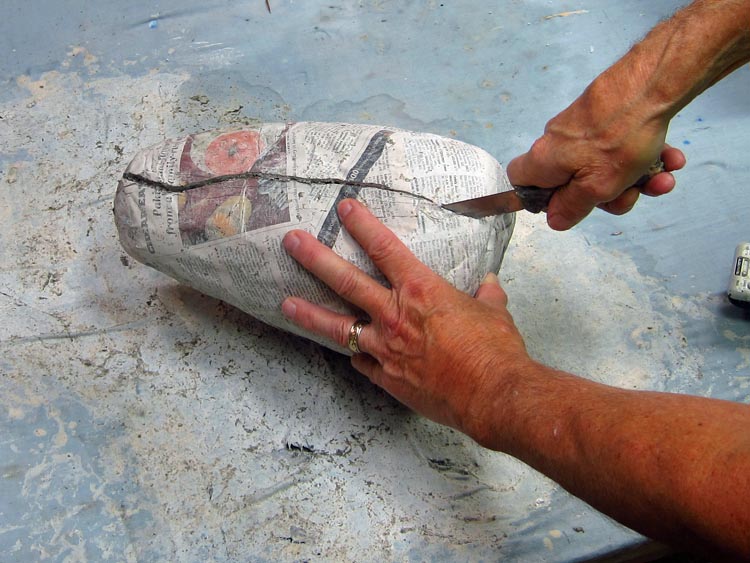
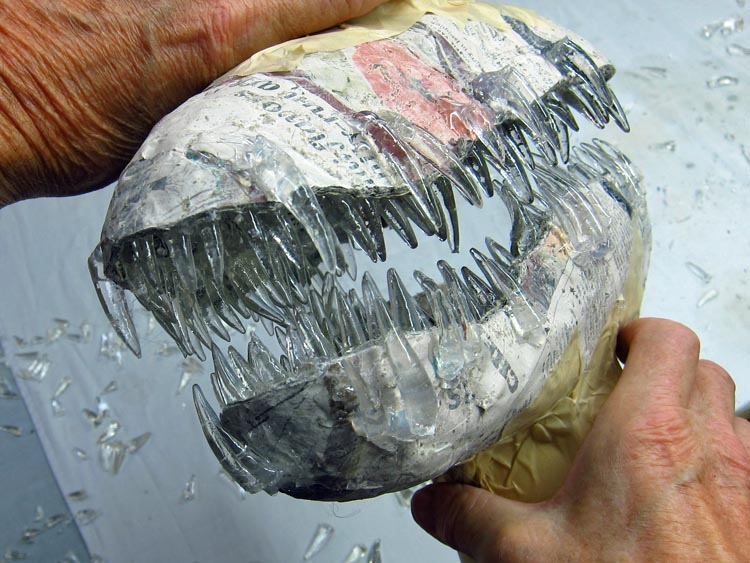
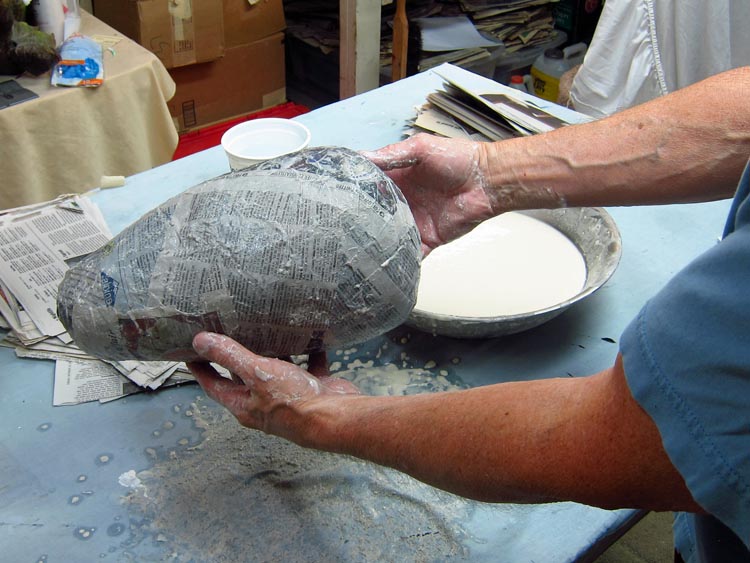
First I cut open the paper mache piece I made earlier. Then I pull out the wad of paper leaving two half shells, ie. the upper and lower jaws.


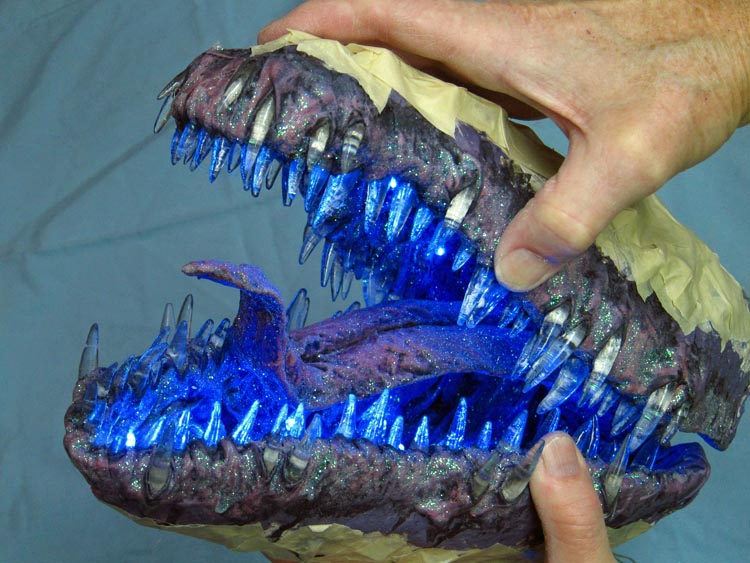
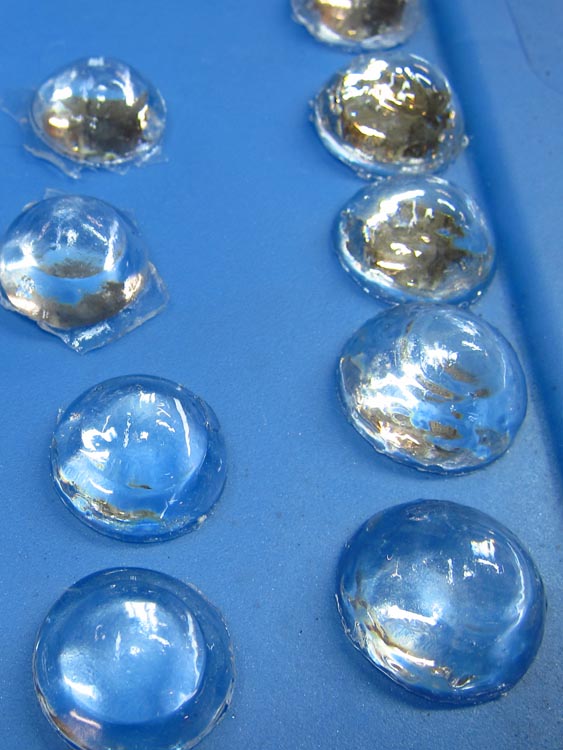
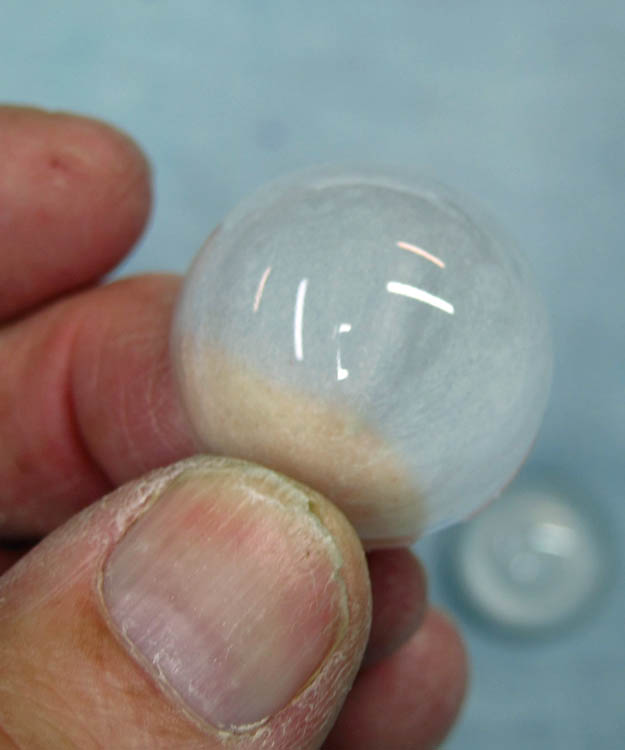
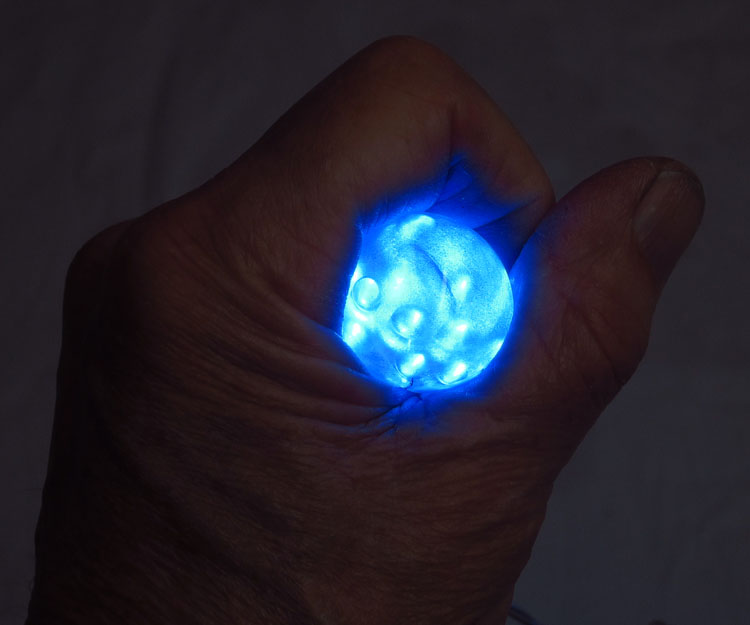
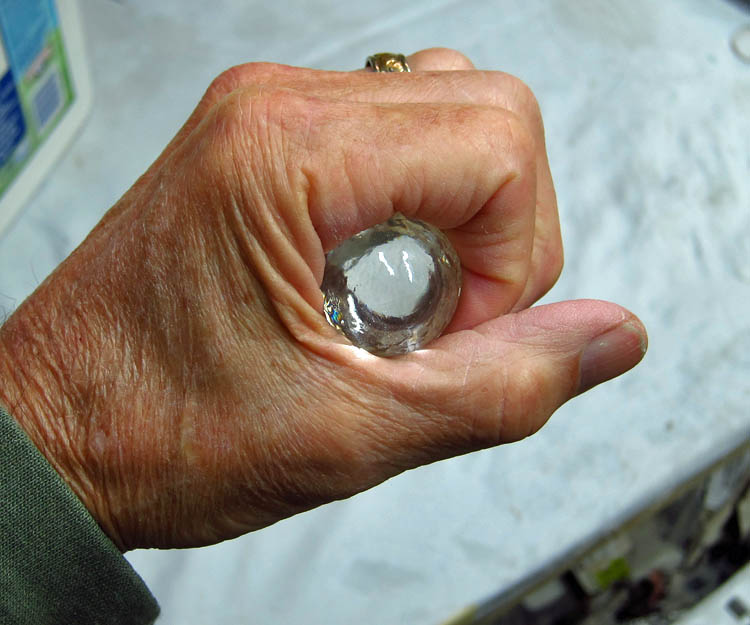
I use hot glue to attach the teeth until I can “cloth mache” them in place. More about that later. Keeping in the spirit of the Viserion drawing, I lined the insides of the jaws with teeth, then added a few on the outside as well giving the jaws a really full look.

Between the clear teeth and the large number of them I think these jaws are rather dramatic. I like them!

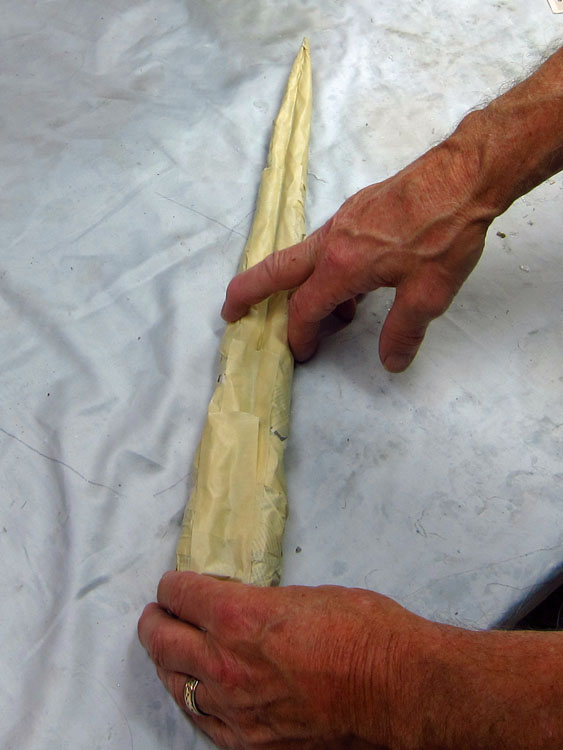
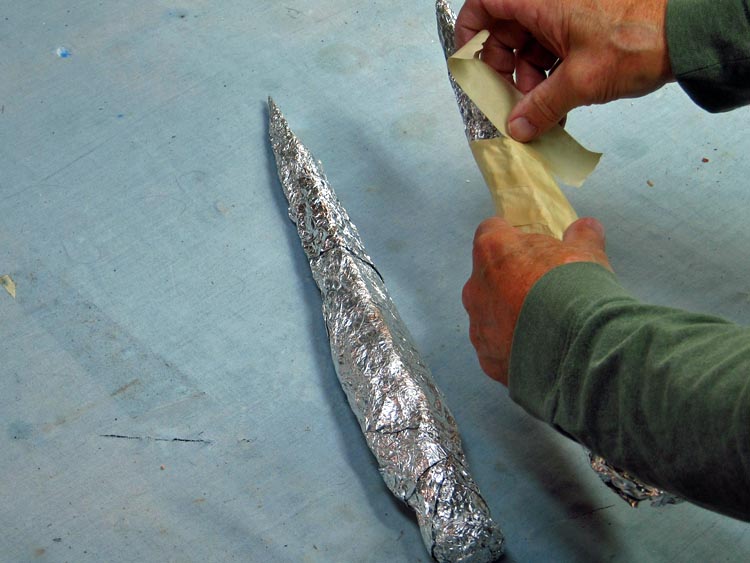
I need a nice tongue. I always make my tongues the same way. I twist a sheet of paper, in this case phone book paper, around two pieces of wire clothes hanger. I twist so that it tapers to a point. Then I wrap with masking tape. Once I have the two parts, I put a length of masking tape along the back. Just the back. I want to leave a crease on the top. I will accentuate that when I add the cloth.


The wire in the tongue makes it easy to bend into interesting shapes. I wanted a little curl at the end of this one.

As most of you know, after sculpting with paper mache, I add a “skin” of cloth (old bed sheets) dipped in white glue. Many years ago, with the publication of my first book, I dubbed this process “cloth mache” for lack of a better term. This note that this term is used all the time now. Adding this skin to a paper mache project makes it very strong, and it allows for great detail.

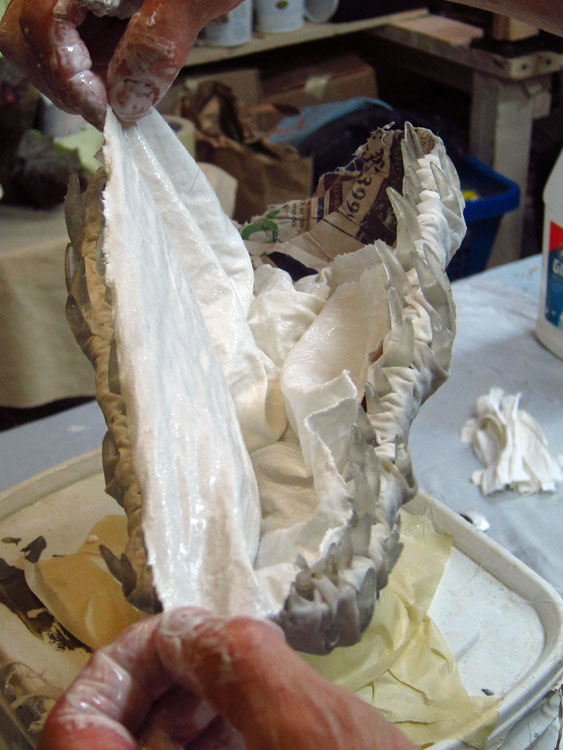
I tear the old bed sheet into long strips and then cut them into shorter pieces. I use these small strips to anchor the teeth. I fold them and then wrap each tooth. The fold in the cloth is a great facsimile for gums.


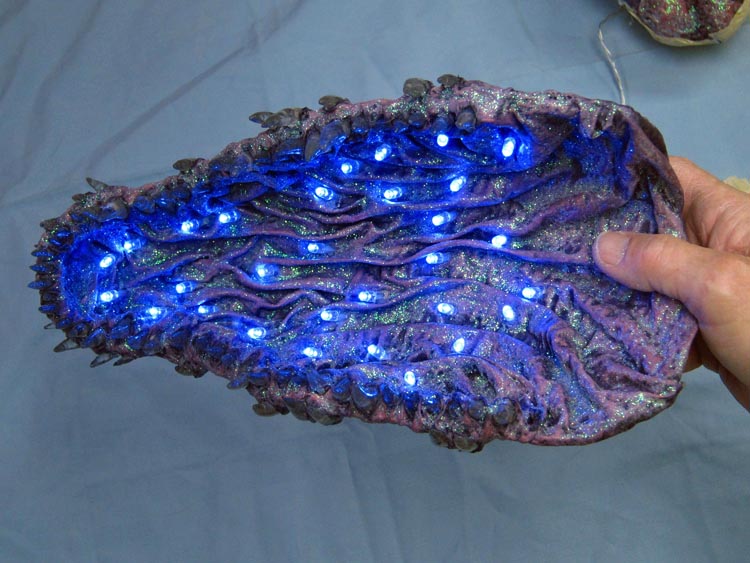
Once all the teeth are wrapped, a put a large piece of glue soaked cloth in the middle of the jaw. Because the cloth is bigger than the jaw, wrinkles naturally form as you lay it. Again, this method of anchoring teeth and creating the palate with cloth is characteristic of my dragon making methods. It works very well.


I also wrap the tongue with the cloth mache. As I mentioned, I accentuate the crease in the tongue by pushing the cloth in the gap between the two parts.

Initial Painting
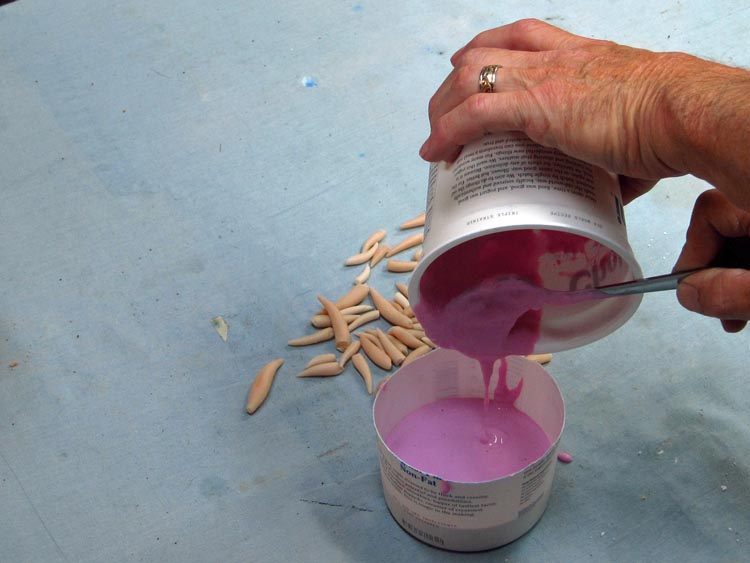
I decided to keep with the dark, but very cold, color scheme in the Viserion drawing as well. So I first painted the jaws purple. Then I “blackwashed” them. That is, I painted on watered down black paint, then wiped it off before it dried. In the furniture world this would be called “antiquing.” But since I was projects with lots of different colors, it makes more sense to me to call this process blackwashing. So I do.


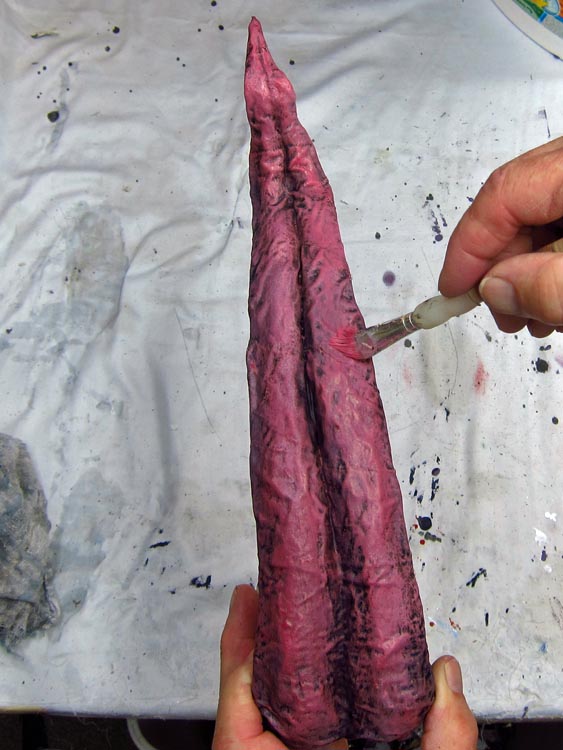
I painted the tongue a dark pink and blackwashed it as well.


I will stop here. There is a bit more to do with these jaws and tongue, too much for tonight. I’ll finish them off next post.
Thanks for stopping by!